ContextAPI with a recipe app - Part Two
Learn React context with a real-world example.

Continuation of part 1
This article is the continuation of part1 of react context with a recipe app.
If you followed the previous part you must have a basic understanding of State lifting, prop-drilling, and React context, We will be building the actual app in this part.
You may check out the complete code here.
So let's start.
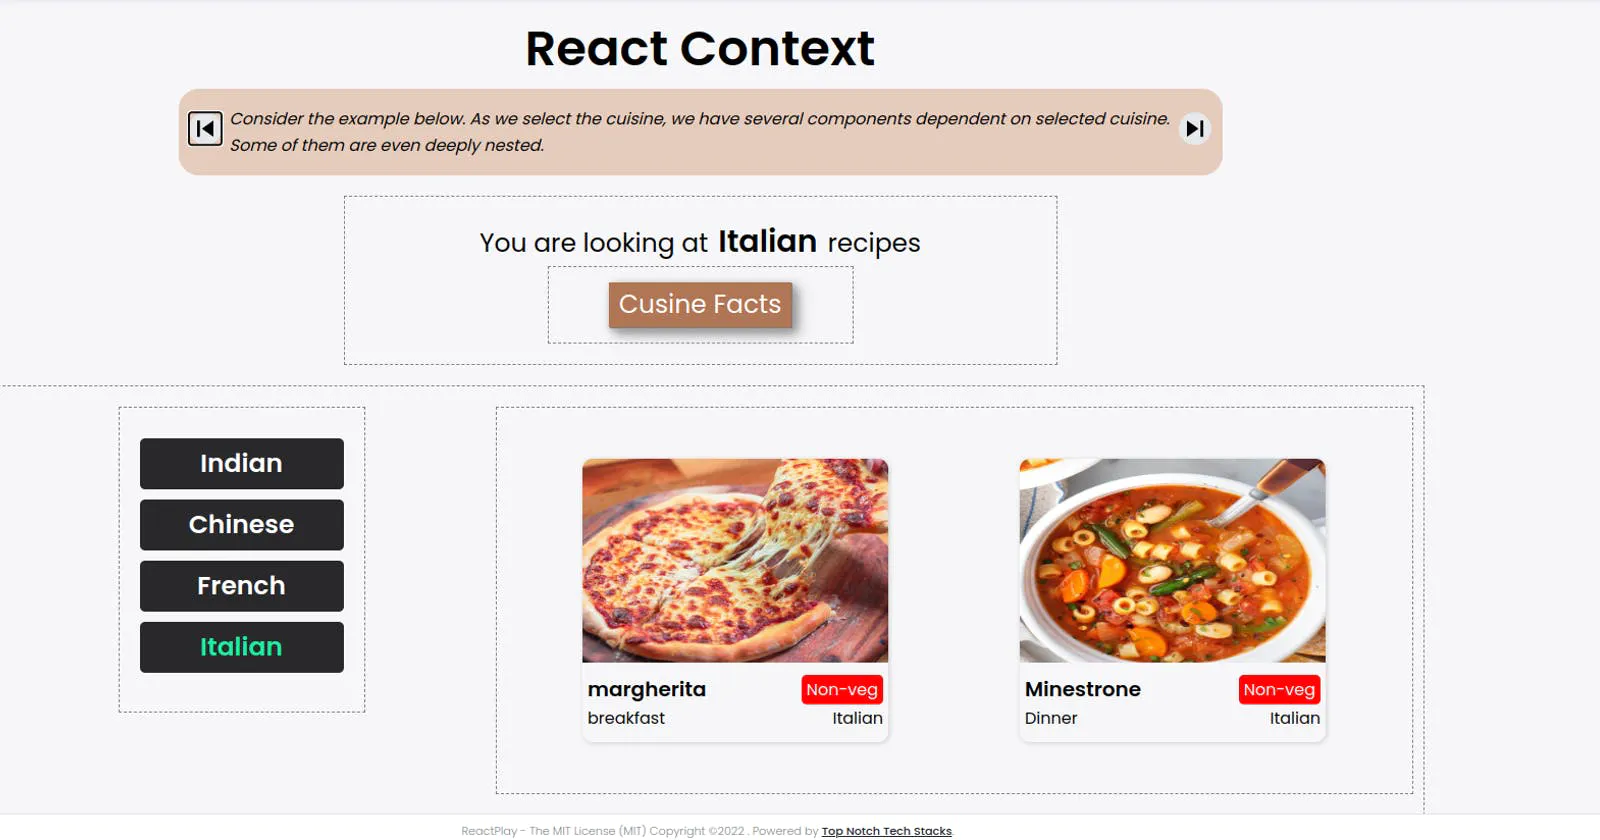
The purpose of this app is to demonstrate the use of context as you see we have lots of components that are dependent on active cuisine.
Create Context
The first step is to create context. Hence, let's first create cuisineContext.jsx .
In this component, we create the context and export it to be used outside.
import { createContext } from "react";

const CuisineContext = createContext();

export default CuisineContext;
Declaring states, variables, and handlers.
Second, we declare states, variables, and handlers on the parent level. So they can be transported to their respective components.
Notice, that these states, variables, and handlers are kept in the parent component called ContextWithRealUsecases.jsx.
const [activeCuisine, setActiveCuisine] = useState(null);

const activeCuisineHandler = (cuisine) => {
    setActiveCuisine(cuisine);
  };

  //get an array of cuisines from an array of recipe objects
  //includes duplicate cuisines. since we have multiple recipes from the same cuisine.
 const cuisines = Recipes.map((item) => {
    return item.recipe.cusine;
  });

  //remove duplicate cuisines.
 const uniqCuisines = [...new Set(cuisines)];

  //get recipes filtered by cuisine type
 const recipesByCusine = Recipes.filter(
    (item) => item.recipe.cusine === activeCuisine
  );
Context Provider
Once the states, variables, and handlers are declared. It's time to wrap them up in the context provider in the same component called ContextWithRealUsecases.jsx so they can be consumed later on.
<CuisineContext.Provider
              value={{
                activeCuisine,
                activeCuisineHandler,
                uniqCuisines,
                recipesByCusine,
              }}
            >
              <Heading />
              {activeCuisine === null ? <Menu /> : <Main />}
</CuisineContext.Provider>
Understand the app structure
Those, who did not read the previous part. let's look at our components once again.
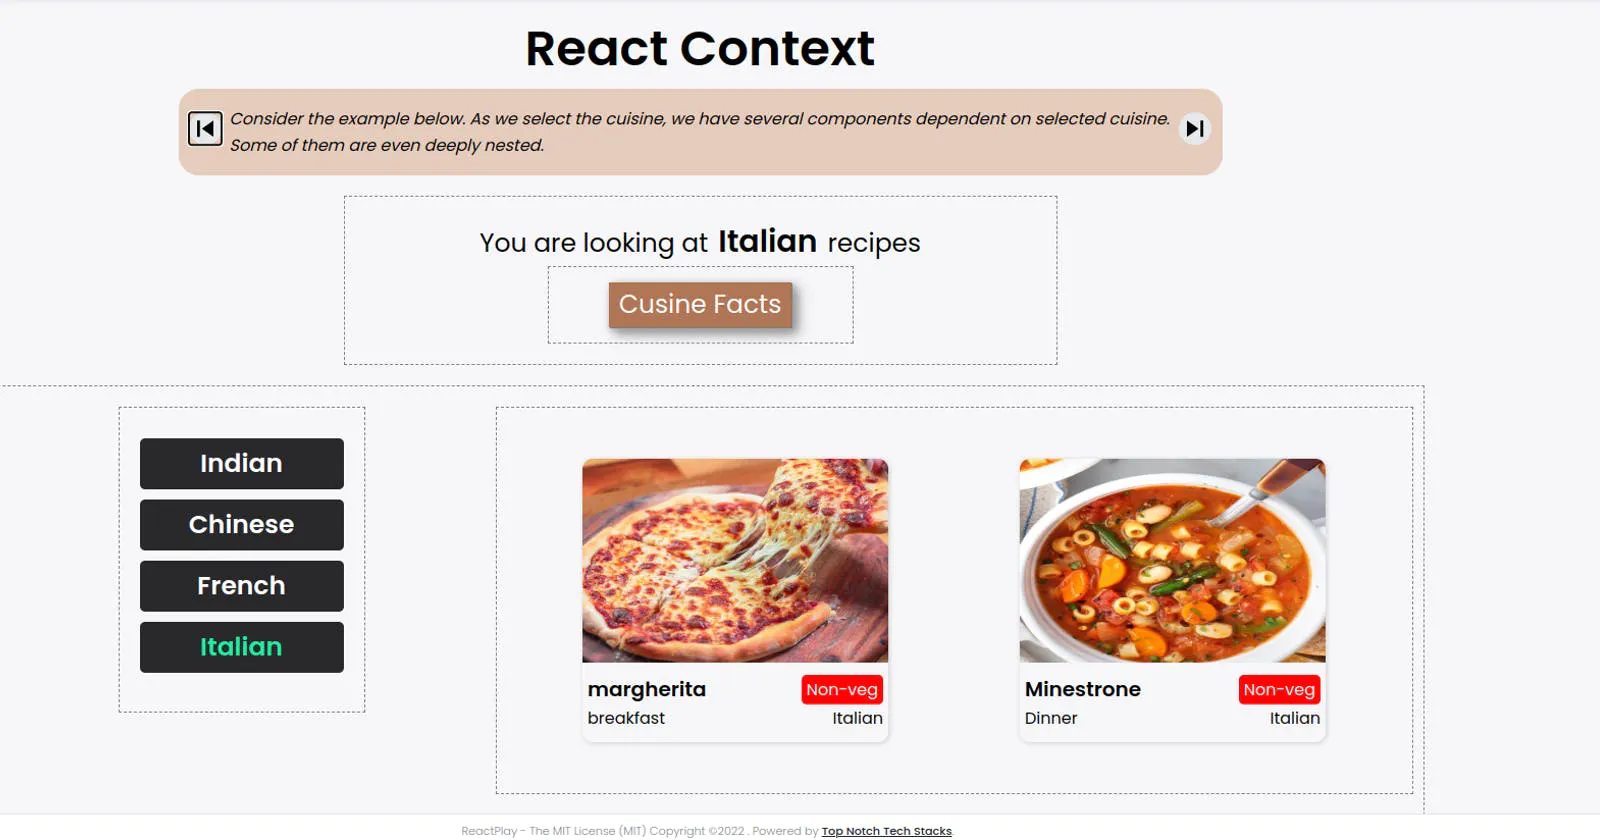
We have the following components.
- Main - The parent component of
MenuandRecipeGridcomponent. Menu - The side menu you see in the above picture.
RecipeGrid - This component renders all the recipe cards.
Heading - This include the
Cuisine NameandCuisineModalcomponent.CuisineModal - This component includes the modal of cuisine facts
Consuming the props
Since we have wrapped up the props in <CuisineContext.Provider>. Now, we don't need to drill the props and we can use them wherever we want with the help of useContext() hook.
Main.jsx - We don't have any props to be used in this component as it is just a container for two of its children.
Menu.jsx - This component render the menu. hence we need three props. activeCuisine, activeCuisineHandler, uniqCuisines.
activeCuisine- So we can highlight the selected cuisine in the menu.activeCuisineHandler- This handler will be attached to each item on the menu so clicked item can be activated.uniqCuisines- To render the list of unique cuisines.
And, This is how we consume the props in the grandchild component without any prop drilling.
const { activeCuisine, activeCuisineHandler, uniqCuisines } = useContext(CuisineContext);
RecipeGrid.jsx - Remember, we had filtered out the recipes by activeCuisine in our parent component?
//get recipes filtered by cuisine type
 const recipesByCusine = Recipes.filter(
    (item) => item.recipe.cusine === activeCuisine
  );
and, now we consume the recipes in the RecipeGrid.jsx component to render the recipes.
const { recipesByCusine } = useContext(CuisineContext);
Heading.jsx - here, we only need to show the name of the activeCuisine.
const { activeCuisine } = useContext(CuisineContext);
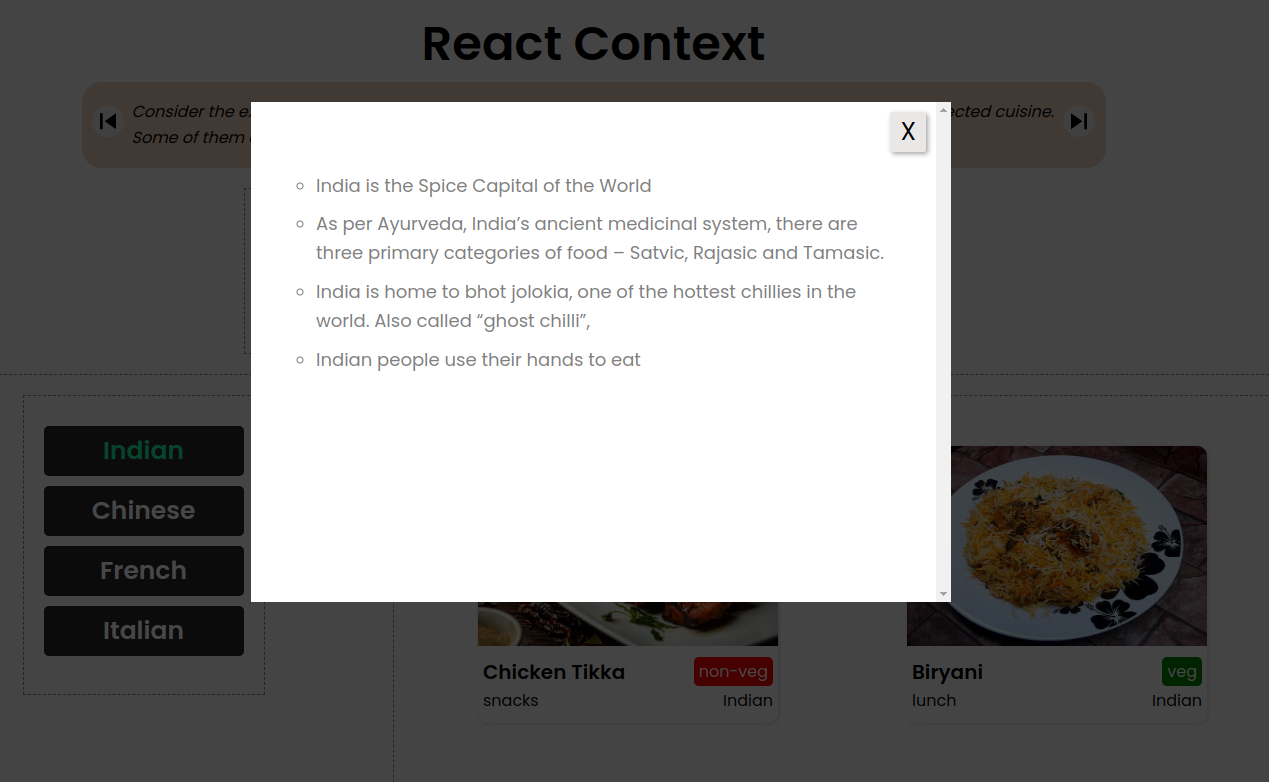
CuisineModal - here again, we will need to import the recipesByCusine. it is an object which contain all the information of the recipe including the recipe facts. which are just the facts about cuisines.
const { recipesByCusine } = useContext(CuisineContext);
Summary
And that's pretty much all about the react context with the recipe app. I hope you enjoyed the tutorial. If you did, please feel free to leave any comments or feedback. If you are struggling or need any help. You can direct message me on Twitter.
Please don't forget to checkout the complete code here.