Create A Play Using The New Workflow - A Complete Guide
You can create a play directly from the UI using workflow 2.0

Software Engineer, building syntackle.com
If you have created a play before, you must have used the traditional workflow, which is an entirely CLI-based approach. But, with the new workflow, you can create a play in one or two clicks directly from the user interface!
Please note that the workflow is in beta when writing this article. If you face any issues, please let us know by creating an issue on our GitHub or messaging on the Discord server.
Let's see how you can create a play using the new workflow step by step:-
1. Fork the Github repository
First of all, if you haven't forked and cloned the repository, do that by visiting the github repository of react-play. Create a new branch using the following command:
git checkout -b <branch_name>
2. Install the dependencies
Run npm install or yarn install at the root directory to install the required dependencies locally in your project.
As per the documentation of react-play,
ReactPlay runs on React 18. However, some of our dependencies are yet to upgrade to version 18. So please use the following command when you face difficulties installing the dependencies.
npm install --legacy-peer-deps
3. Add .env file
Create a .env file at the root of the project and add the following environment variables.
REACT_APP_NHOST_BACKEND_URL=https://rgkjmwftqtbpayoyolwh.nhost.run/
REACT_APP_NHOST_VERSION=v1
REACT_APP_NHOST_ENDPOINT=graphql
4. Start the development server
Run npm start or yarn start to spin up the development server at localhost:3000.
5. Create Button
Click on the create button on the landing page to create a play, as shown in the image below:

6. Authenticate using GitHub
After you click on the create play button, you will be redirected to authenticate yourself using Github. Once you do that, you will see a page where you can enter your play details.

7. Enter play details
On this page, you can enter all the details of your play. Enter the data according to the following format:
| Field | Mandatory? | Description |
| Name | YES | It is a description of the play for users to understand it better. The maximum number of allowed characters is 1024. |
| Issue | YES | Every play should be mapped with an issue. Select it here. |
| Language | YES | Let the application know your choice of script. It supports both JavaScript and TypeScript. You can pick either of it. |
| Style | NO | Let the application know your choice of style. It supports both css and scss. You can pick either of it. |
| Level | YES | You will be asked to select one of the three levels, Beginner, Intermediate, or Advanced. Please select a level for the play. A level indicates the possible complexity of developing the play using React. |
| Github Username | YES | Provide your GitHub user name to mark you as the creator of the play. |
| Tags | NO | Please provide a comma-separated list of tags. Example: JSX, Hooks |
| Cover Image URL | NO | A cover image is used to show your play with a thumbnail in the play list page. Please provide a link a cover image that is publicly accessible using a URL, example: https://res.cloudinary.com/reactplay/image/upload/v1649060528/demos/id-card_pdvyvz.png. Alternatively, you can have a cover.png file in the root of your play folder. If you don't have a cover image, the app will use the default cover image. |
| Blog URL | NO | If you have written an article about this play, please provide the link to your blog article page. |
| Video | NO | If you have created a video tutorial about this play, please provide the link to your YouTube video. |

After this, you will get a play_id.

Stop the development server and run the following command:
npx create-react-play -c <play_id>
8. Add play's code
Up until now, if everything was okay, it should create your play folder structured. Here's an example:

Now, you can add your play's code! Also, edit the README file or your play as per the requirements.
9. Test it
Run yarn start or npm start to see your changes. You just created a play! 🎉
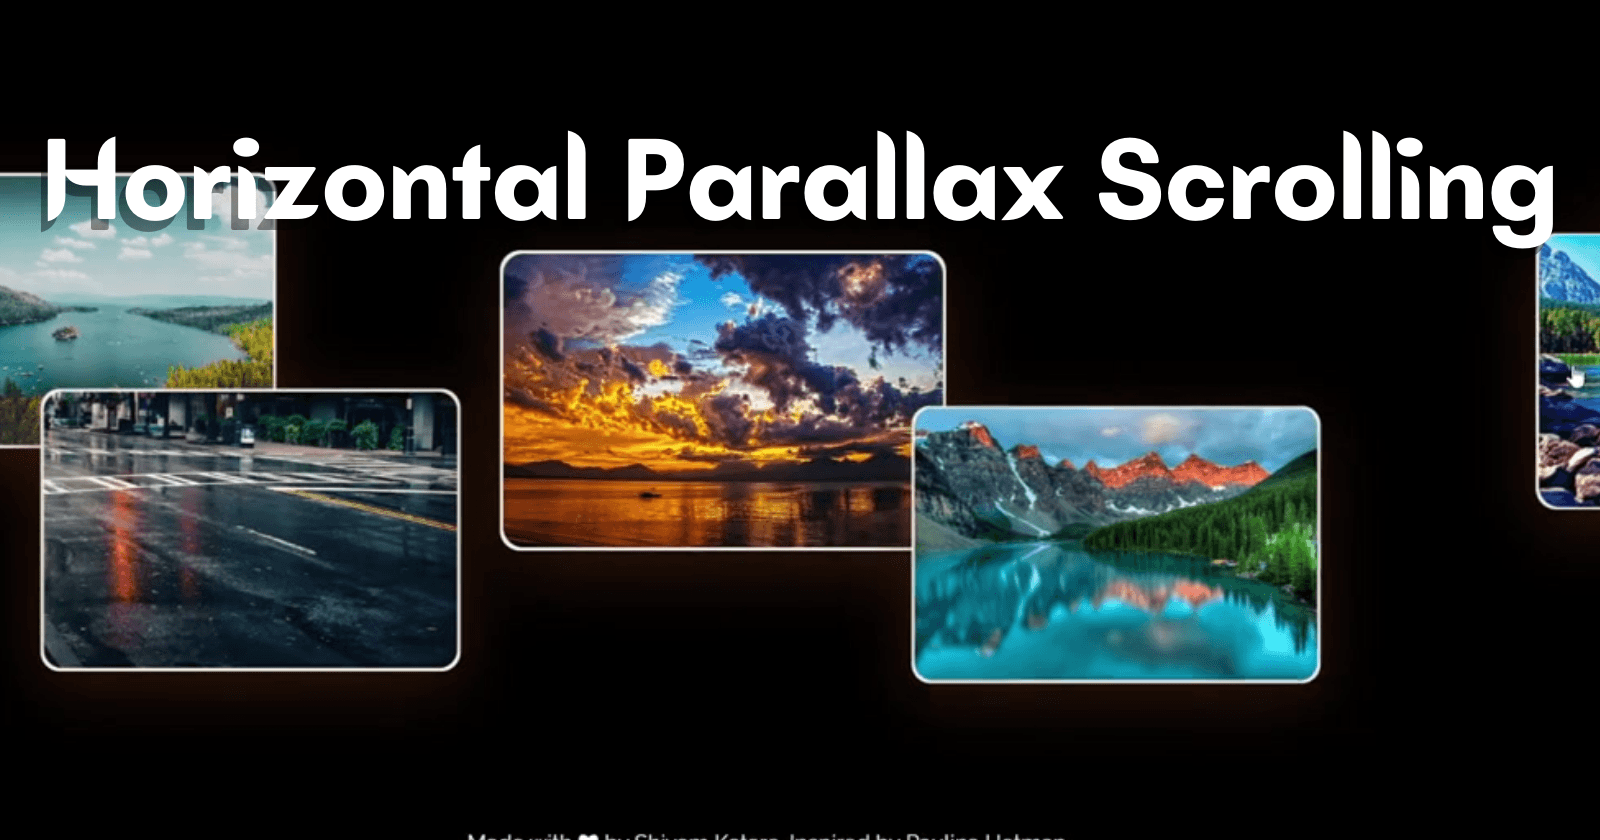
Want to learn more about ReactPlay? lease check this out,