Introducing Shotz - A High-Quality Screen Clicker
Click the 4k-quality screenshot!

Hey👋, It's me Utsav, I craft code and love to write what I learn.
If you are searching for a web app for clicking full-size, high-quality screenshots then Shotz is excited to help you!😉

Introduction📄
Shotz is an MIT Licensed open source project which helps you to click high-quality screenshots in one click and in less time. You just have to enter the URL of the website on which you wanted to take screenshots and that's It your work has been done. There are also little bit but useful advanced option that helps you to take a screenshot as you want. And lastly, If you log in, You can save the screenshot and make a collection of it.
Quick look👀
The website is not that complicated, it is designed to give top-notch user-friendly experiences. You will get only a few pages to interact with. The whole application can be divided into these parts:
Home page
This is the homepage where you land when you come as a new user or if your session is expired. I tried to keep as simple as possible.
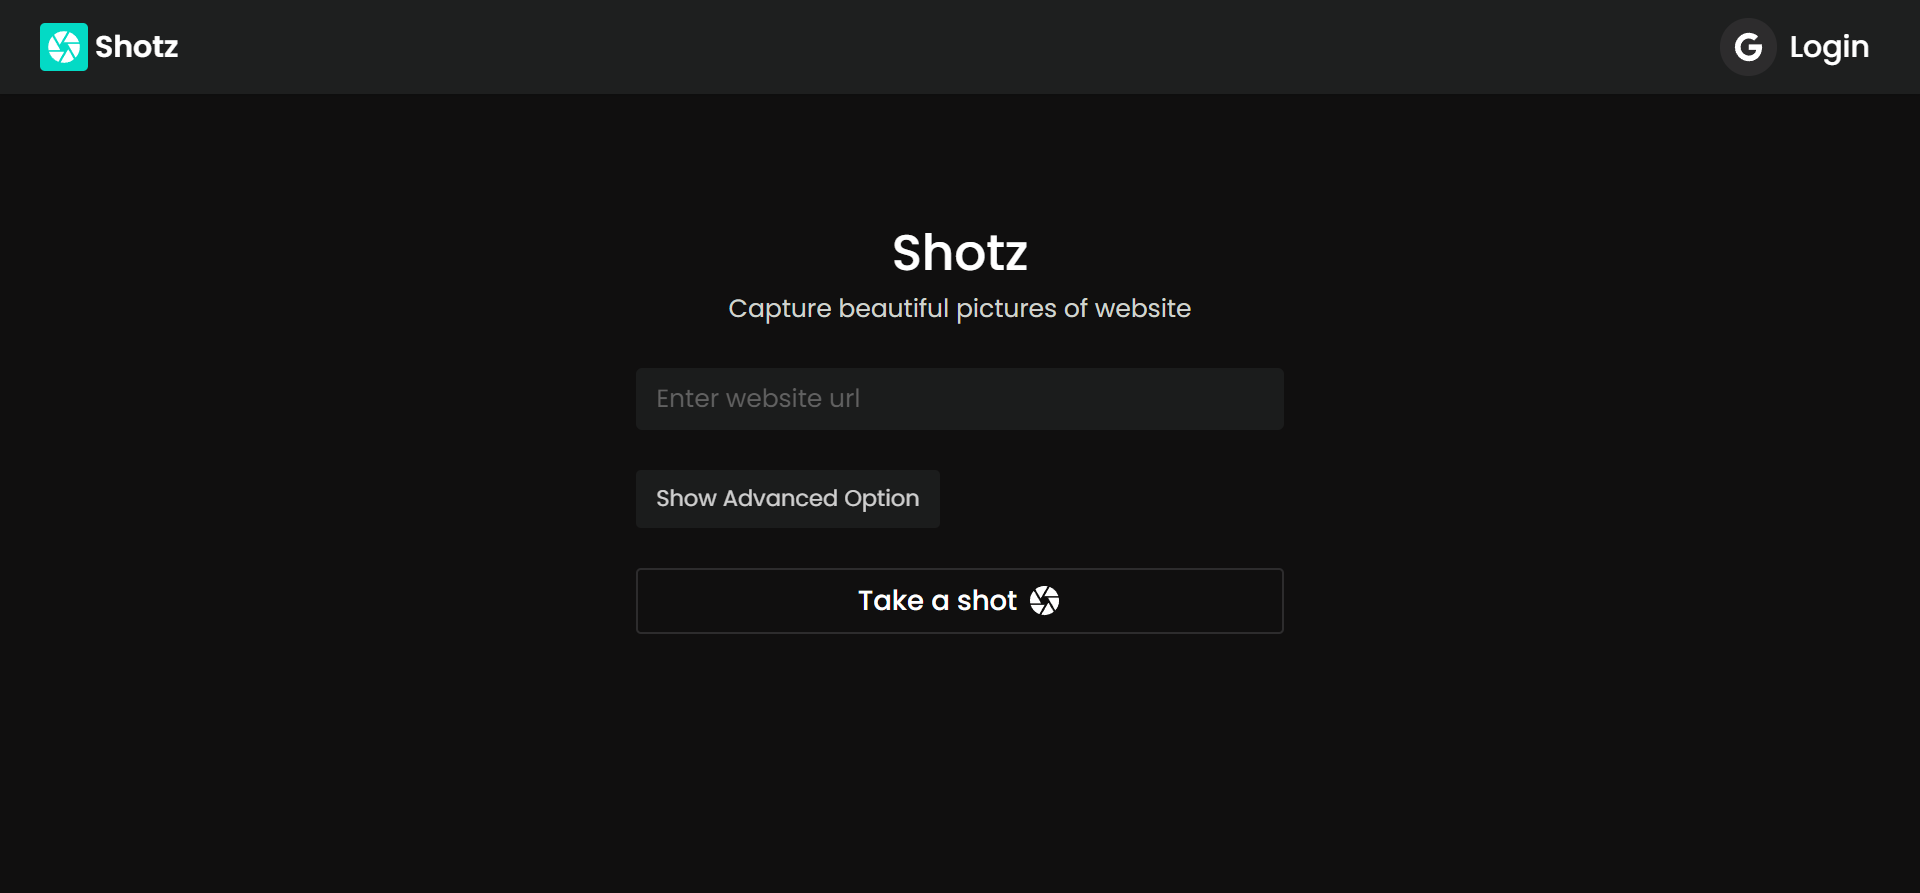
Image viewing Page
This is an image viewing page or output page where you get your screenshot.
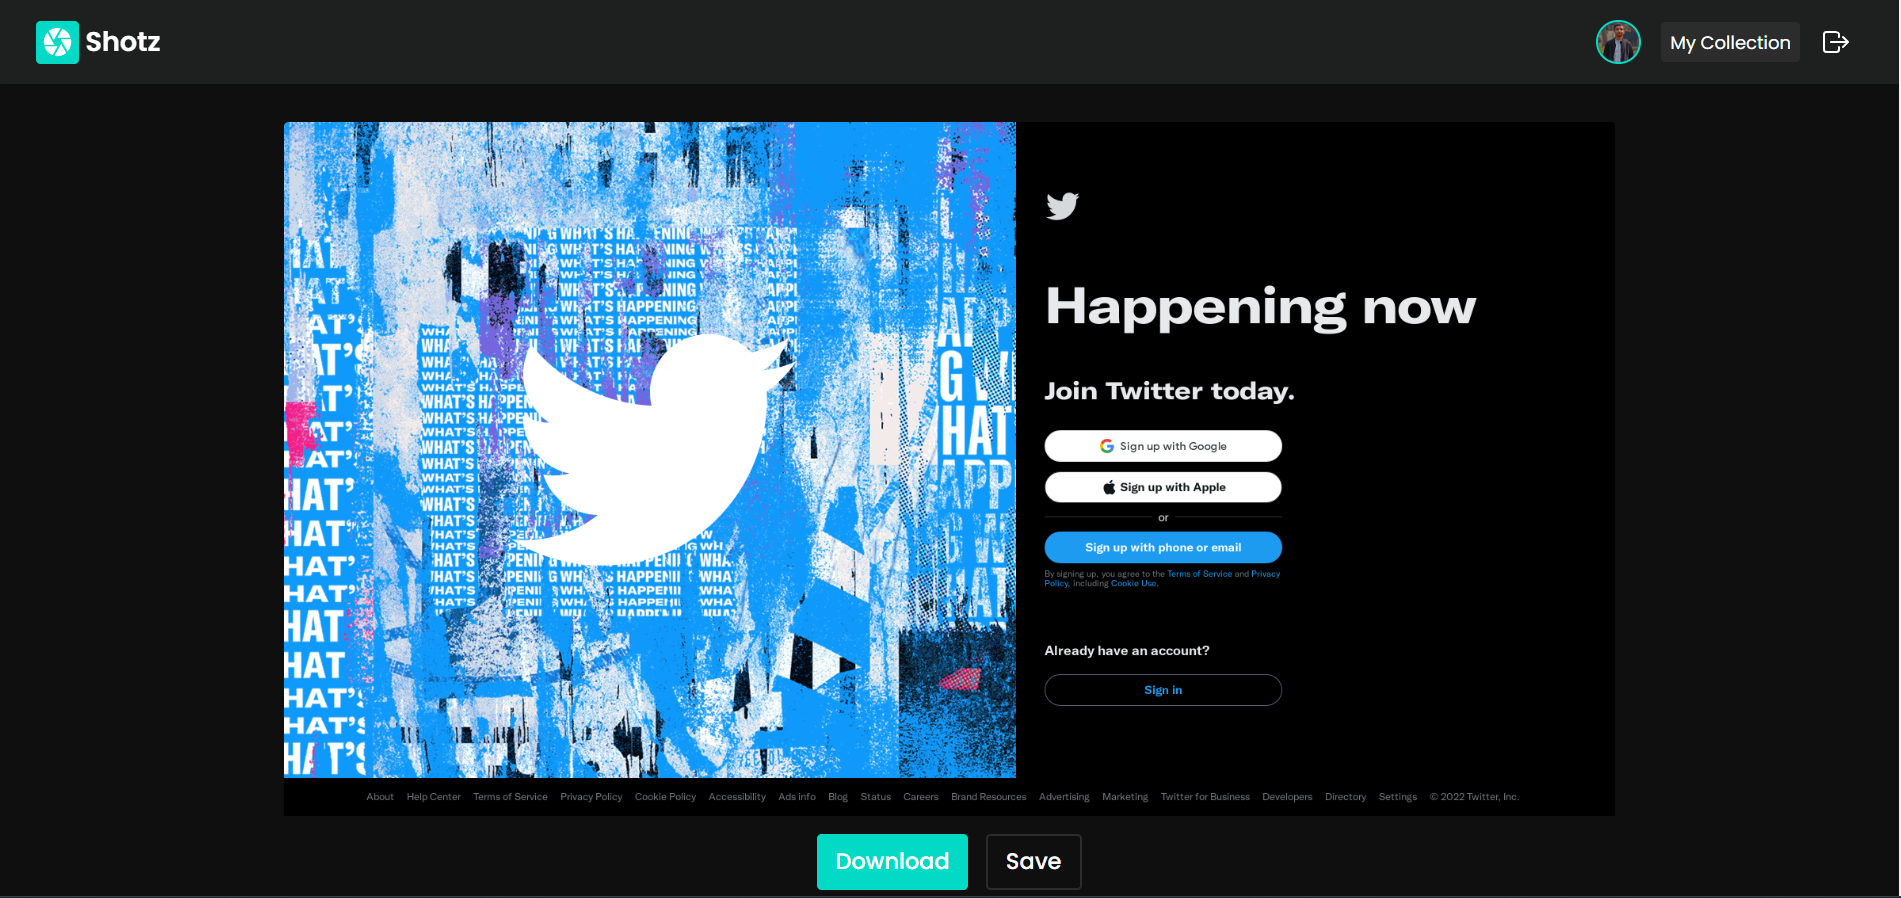
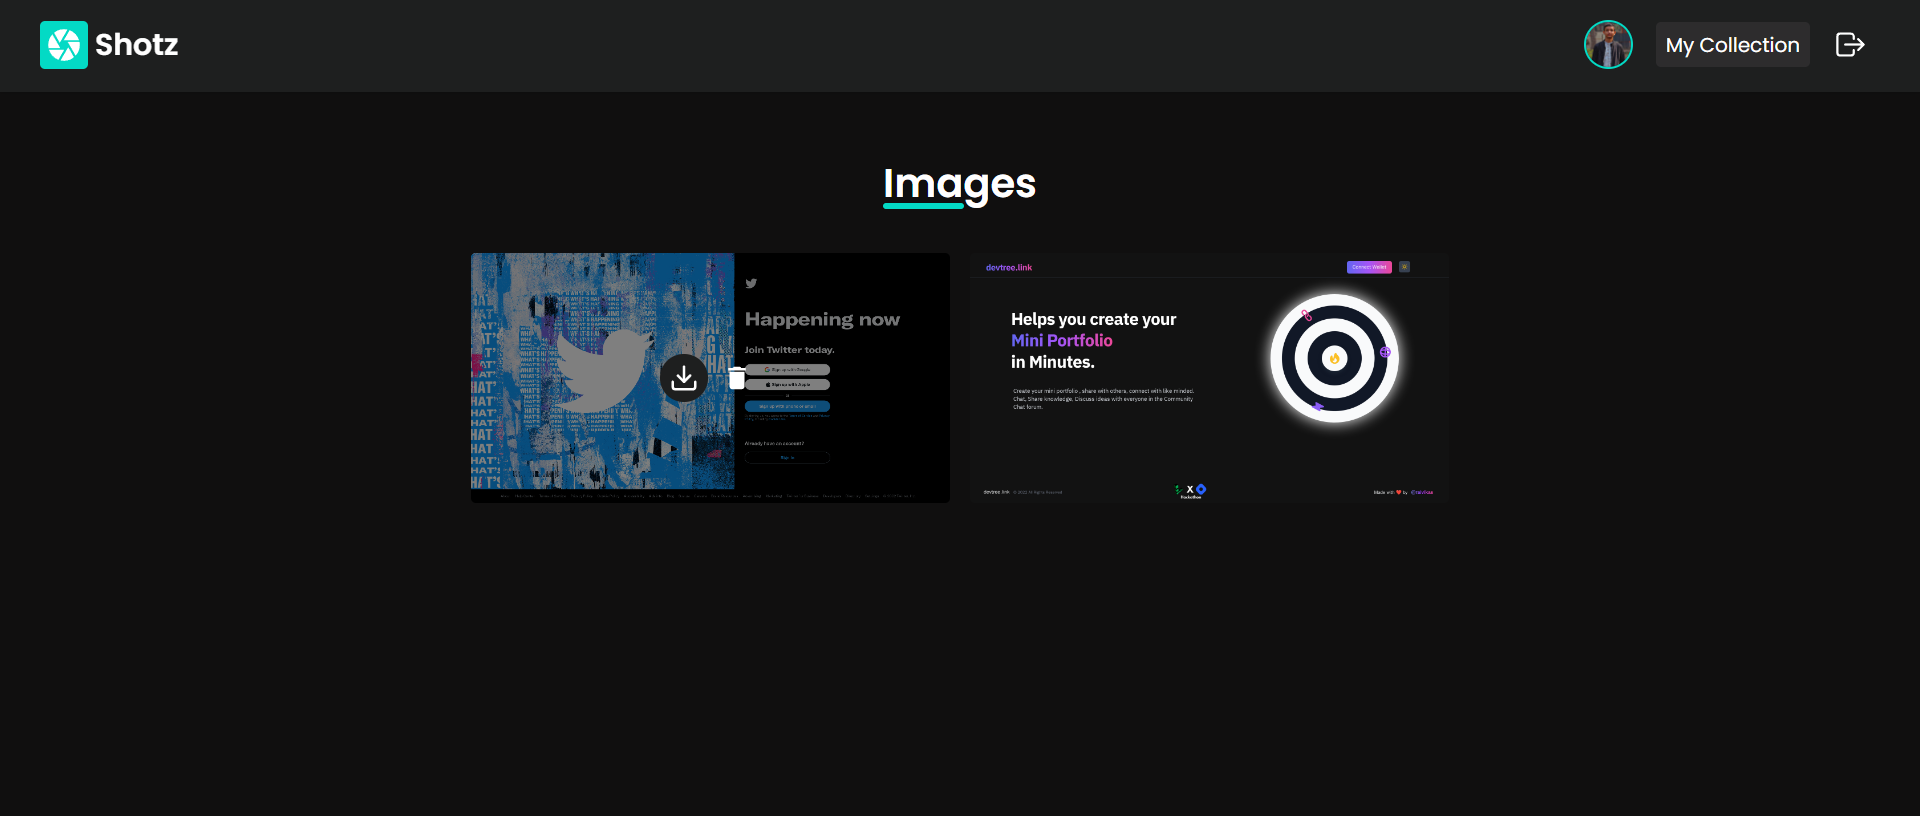
Image Collection page
This is the page where your saved images are kept in a managed way that you can download or delete them as you want.
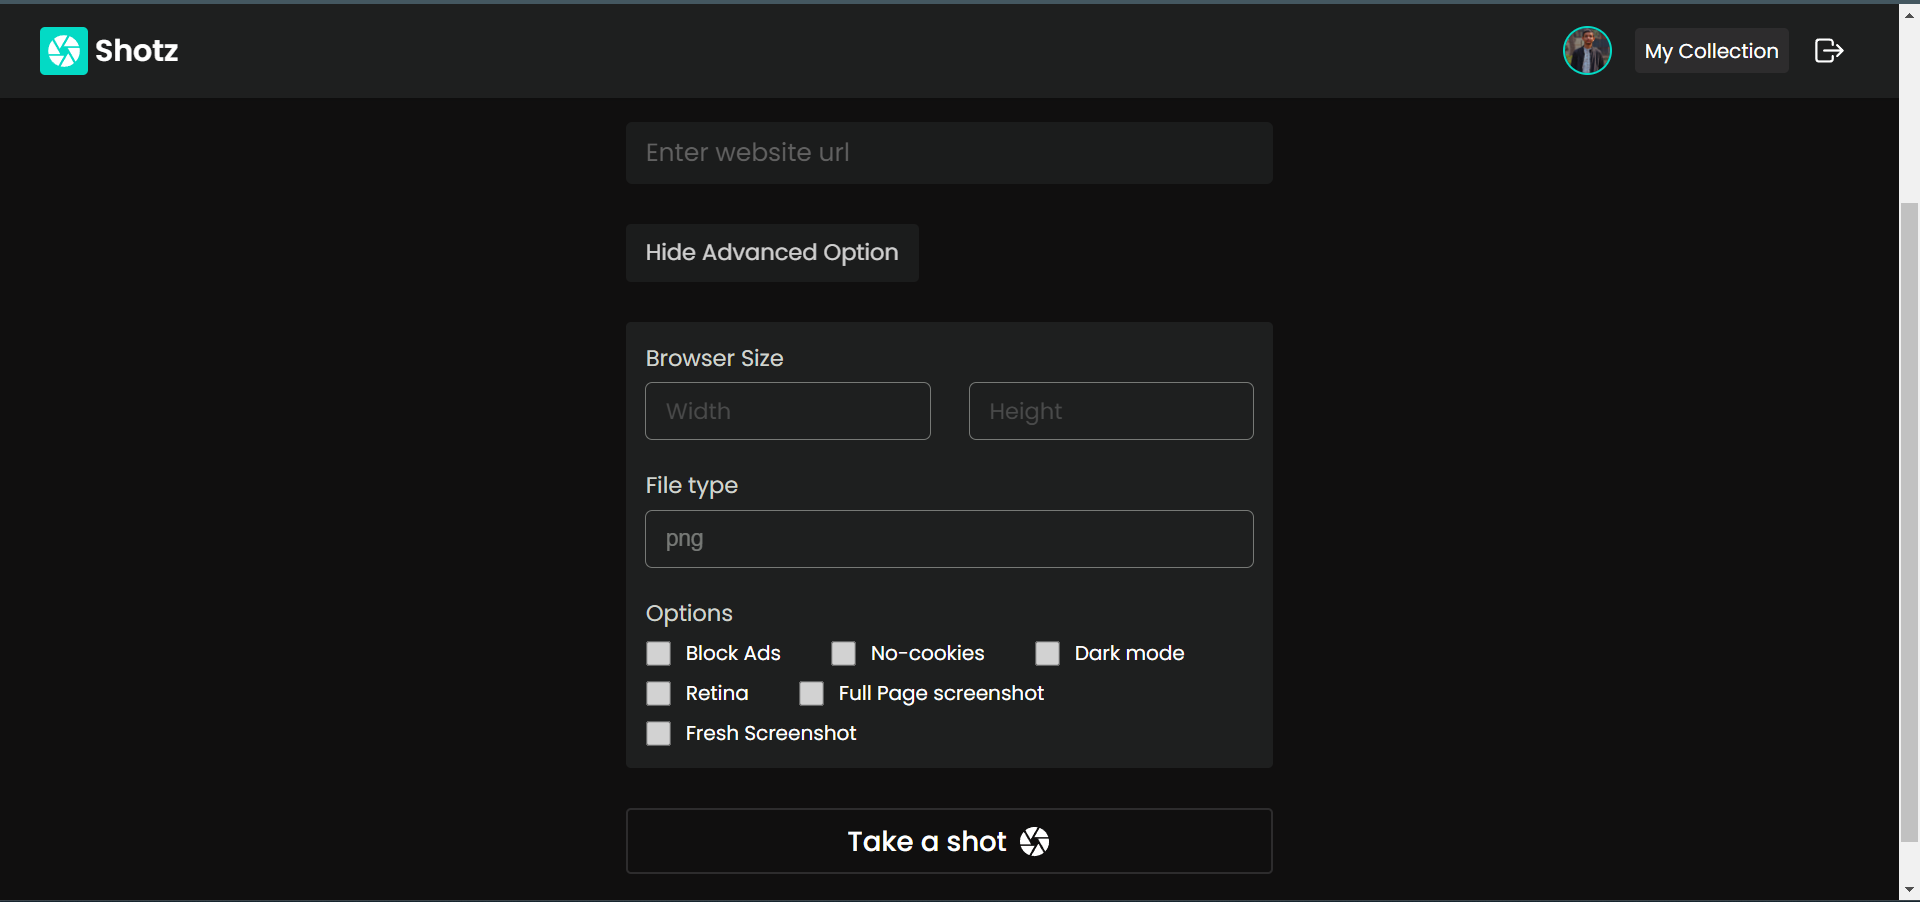
Advanced option
Tech stack👨💻
It doesn't include a vast tech stack. Instead, It uses a simple tech stack they are React and NHost.
React -> For frontend work
NHost -> For backend work (Auth, Database, Storage, Querying)
Netlify -> For hosting (Personal favorite hosting platform, Love it🤩)
If you don't know about Nhost, it is an open-source Firebase alternative with GraphQL. It provides awesome features in the free tier also.
Process⚒️
I am not going to explain all of the technical stuff here. Instead, I will take you quick work through the web app.
At first, You need to enter the URL of the website where you want to take screenshots then, as per your requirement fill up or tick the advanced option and just hit the
Take a shot button. then you are redirected to the image viewing page and there will be a download button by clicking it you can download the image. You get one more button to save the image if you are logged in.
But Sometimes, The Download button doesn't work. So, you have to right-click on the image and click on save as option to download it.
You can also access the collection of your saved screenshots by clicking on the button My collection on the top-right side of the navbar. At last, You can download or delete the saved screenshot by hovering them.
What I learned💡?
I have made a few react based projects in the past but I haven't done any project like this. I learned more about the NHost and It was my first time of using a GraphQl-based database which made me familiar with this type of database. It consisted of lots of frustrating moments but, It was a worthwhile learning process.
Summary
The overall hackathon was a worthwhile learning journey. I learned about NHost, the network tab in the developer console, and some better ways to google. Most Importantly, I got to learn about a new tech stack called as Nhost which I will use it in future projects also. The features that NHost provided are awesome which help me to do backend work in less time and I like the authentication system of Nhost. This journey was awesome which lift me up little bit higher towards the world of tech.